Tutorial#
This is a basic introduction to using the library. Please refer to the Reference for detailed description of the features and functionality provided by the library.
For this tutorial we’ll be using the image below:

The image has a resolution of 288x288 pixels.
Note
All the samples in this tutorial occured in a terminal window of 255 columns by 70 lines.
Creating an instance#
Image instances can be created using the convinience functions AutoImage(),
from_file() and from_url().
These automatically detect the best style supported by the active terminal.
Instances can also be created using the Image Classes directly via their respective
constructors or from_file() and
from_url() methods.
If the file is stored on your local filesystem:
from term_image.image import from_file

image = from_file("path/to/python.png")
You can also use a URL if you don’t have the file stored locally:
from term_image.image import from_url

image = from_url("https://raw.githubusercontent.com/AnonymouX47/term-image/main/docs/source/resources/tutorial/python.png")
The library can also be used with PIL image instances:
from PIL import Image
from term_image.image import AutoImage

img = Image.open("python.png")
image = AutoImage(img)
Rendering an image#
Rendering an image is simply the process of converting it (per-frame for animated images) into text (a string).
Hint
To display the rendered image in the following steps, just pass the string as an argument to print().
There are two ways to render an image:
1. Unformatted#
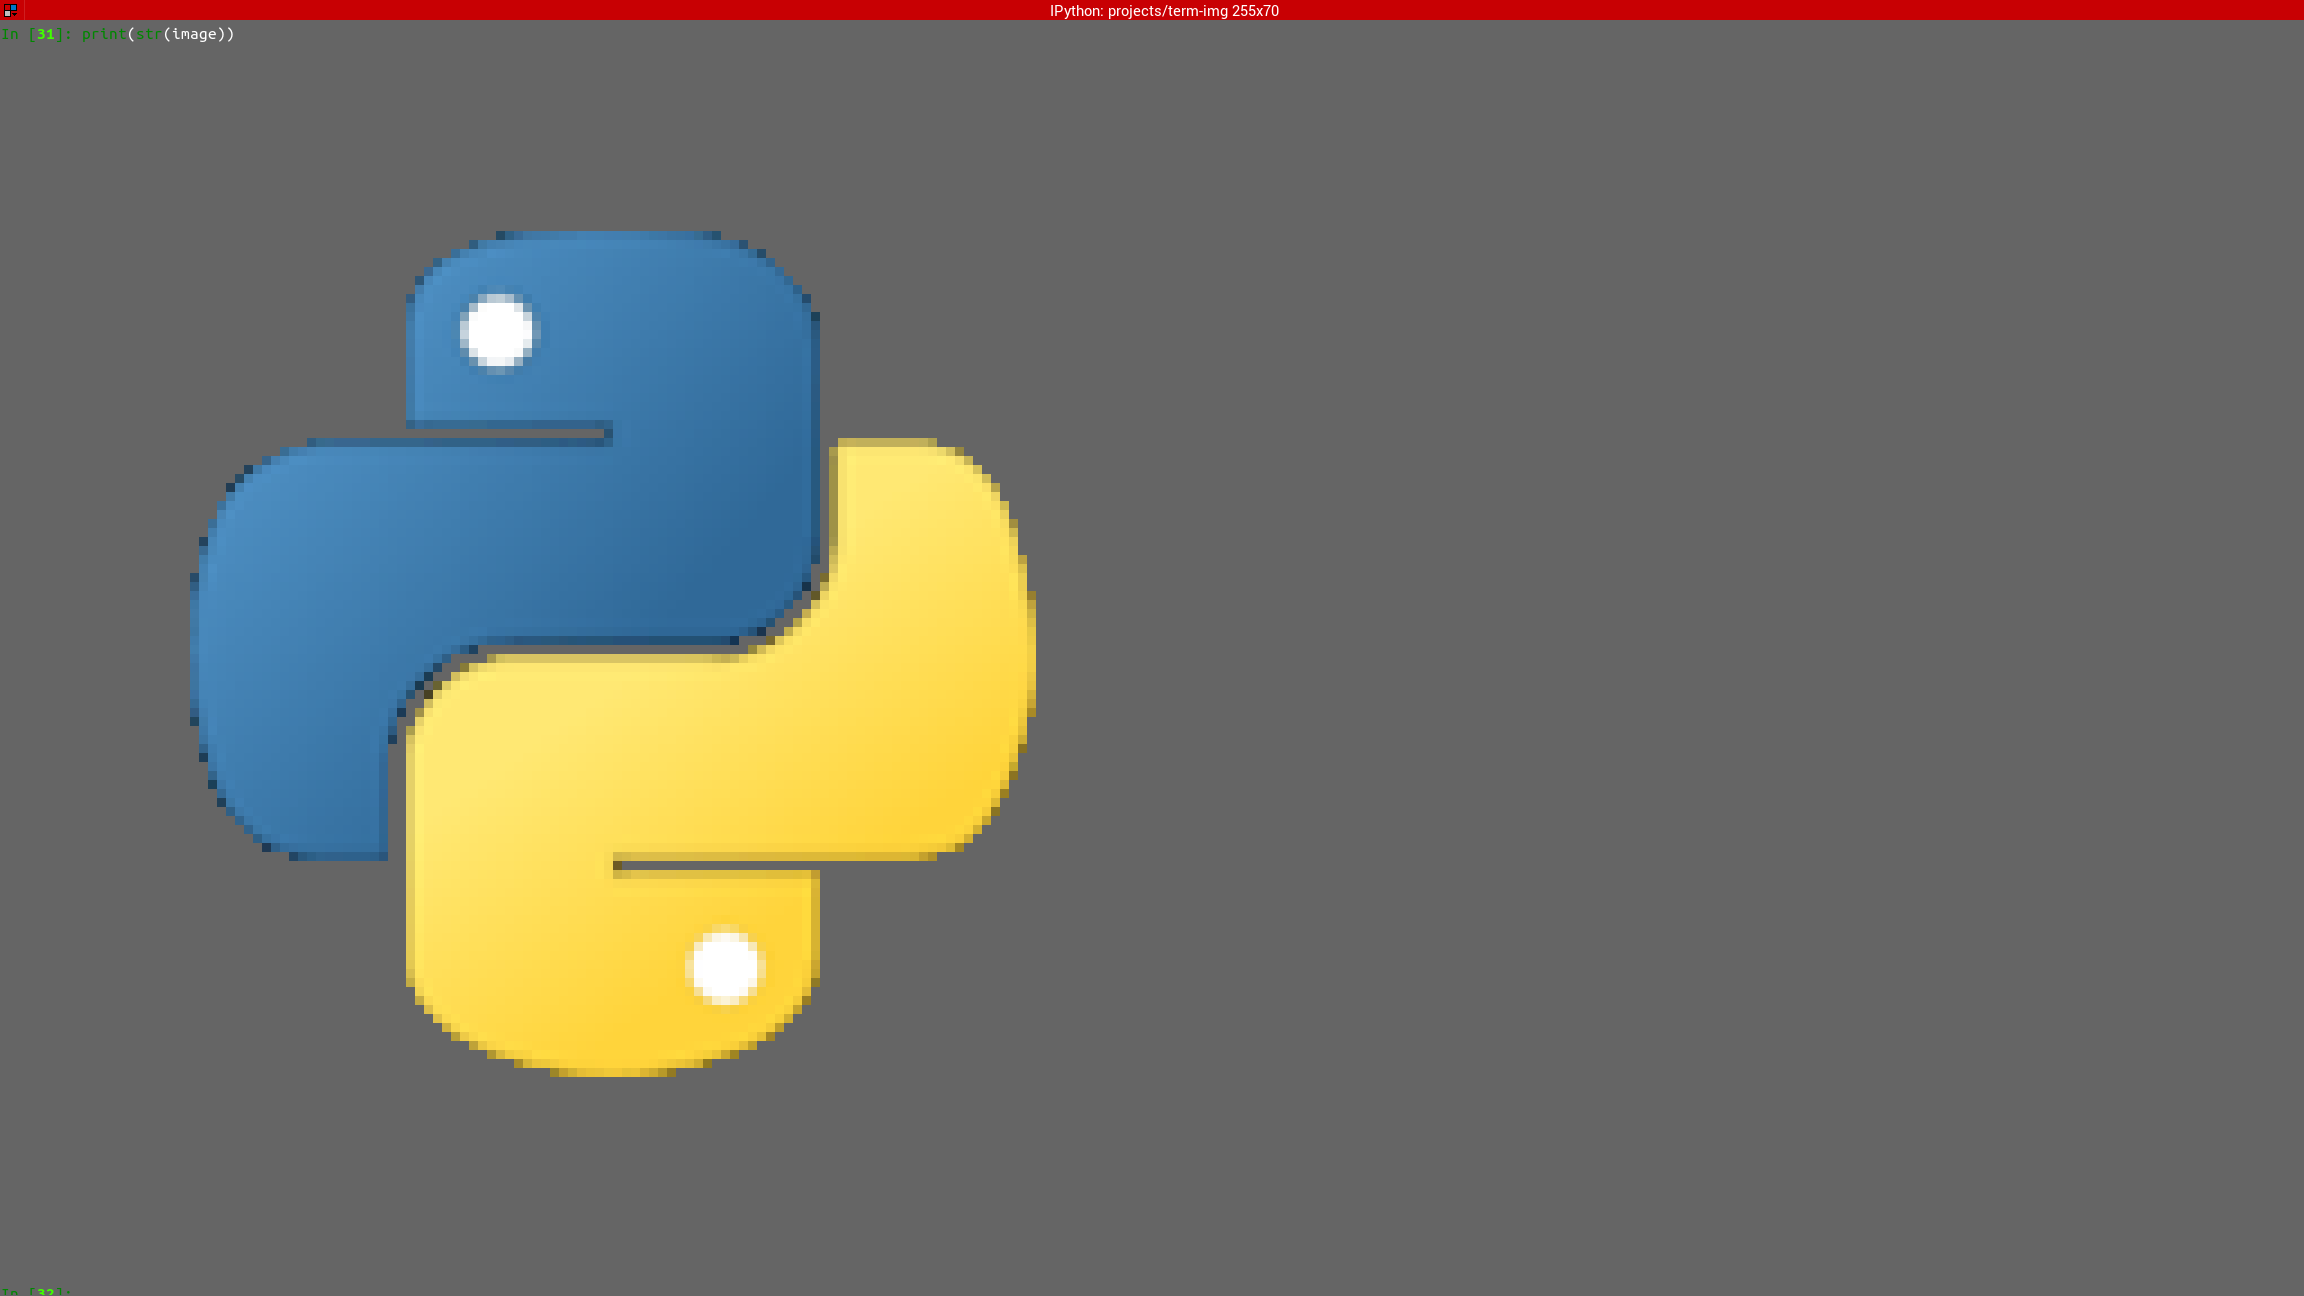
str(image)
Renders the image without padding/alignment and with transparency enabled
The result should look like:
2. Formatted#
Note
To see the effect of alignment in the steps below, please scale the image down using:
image.scale = 0.75
This simply sets the x-axis and y-axis scales of the image to 0.75.
We’ll see more about this later.
Below are examples of formatted rendering:
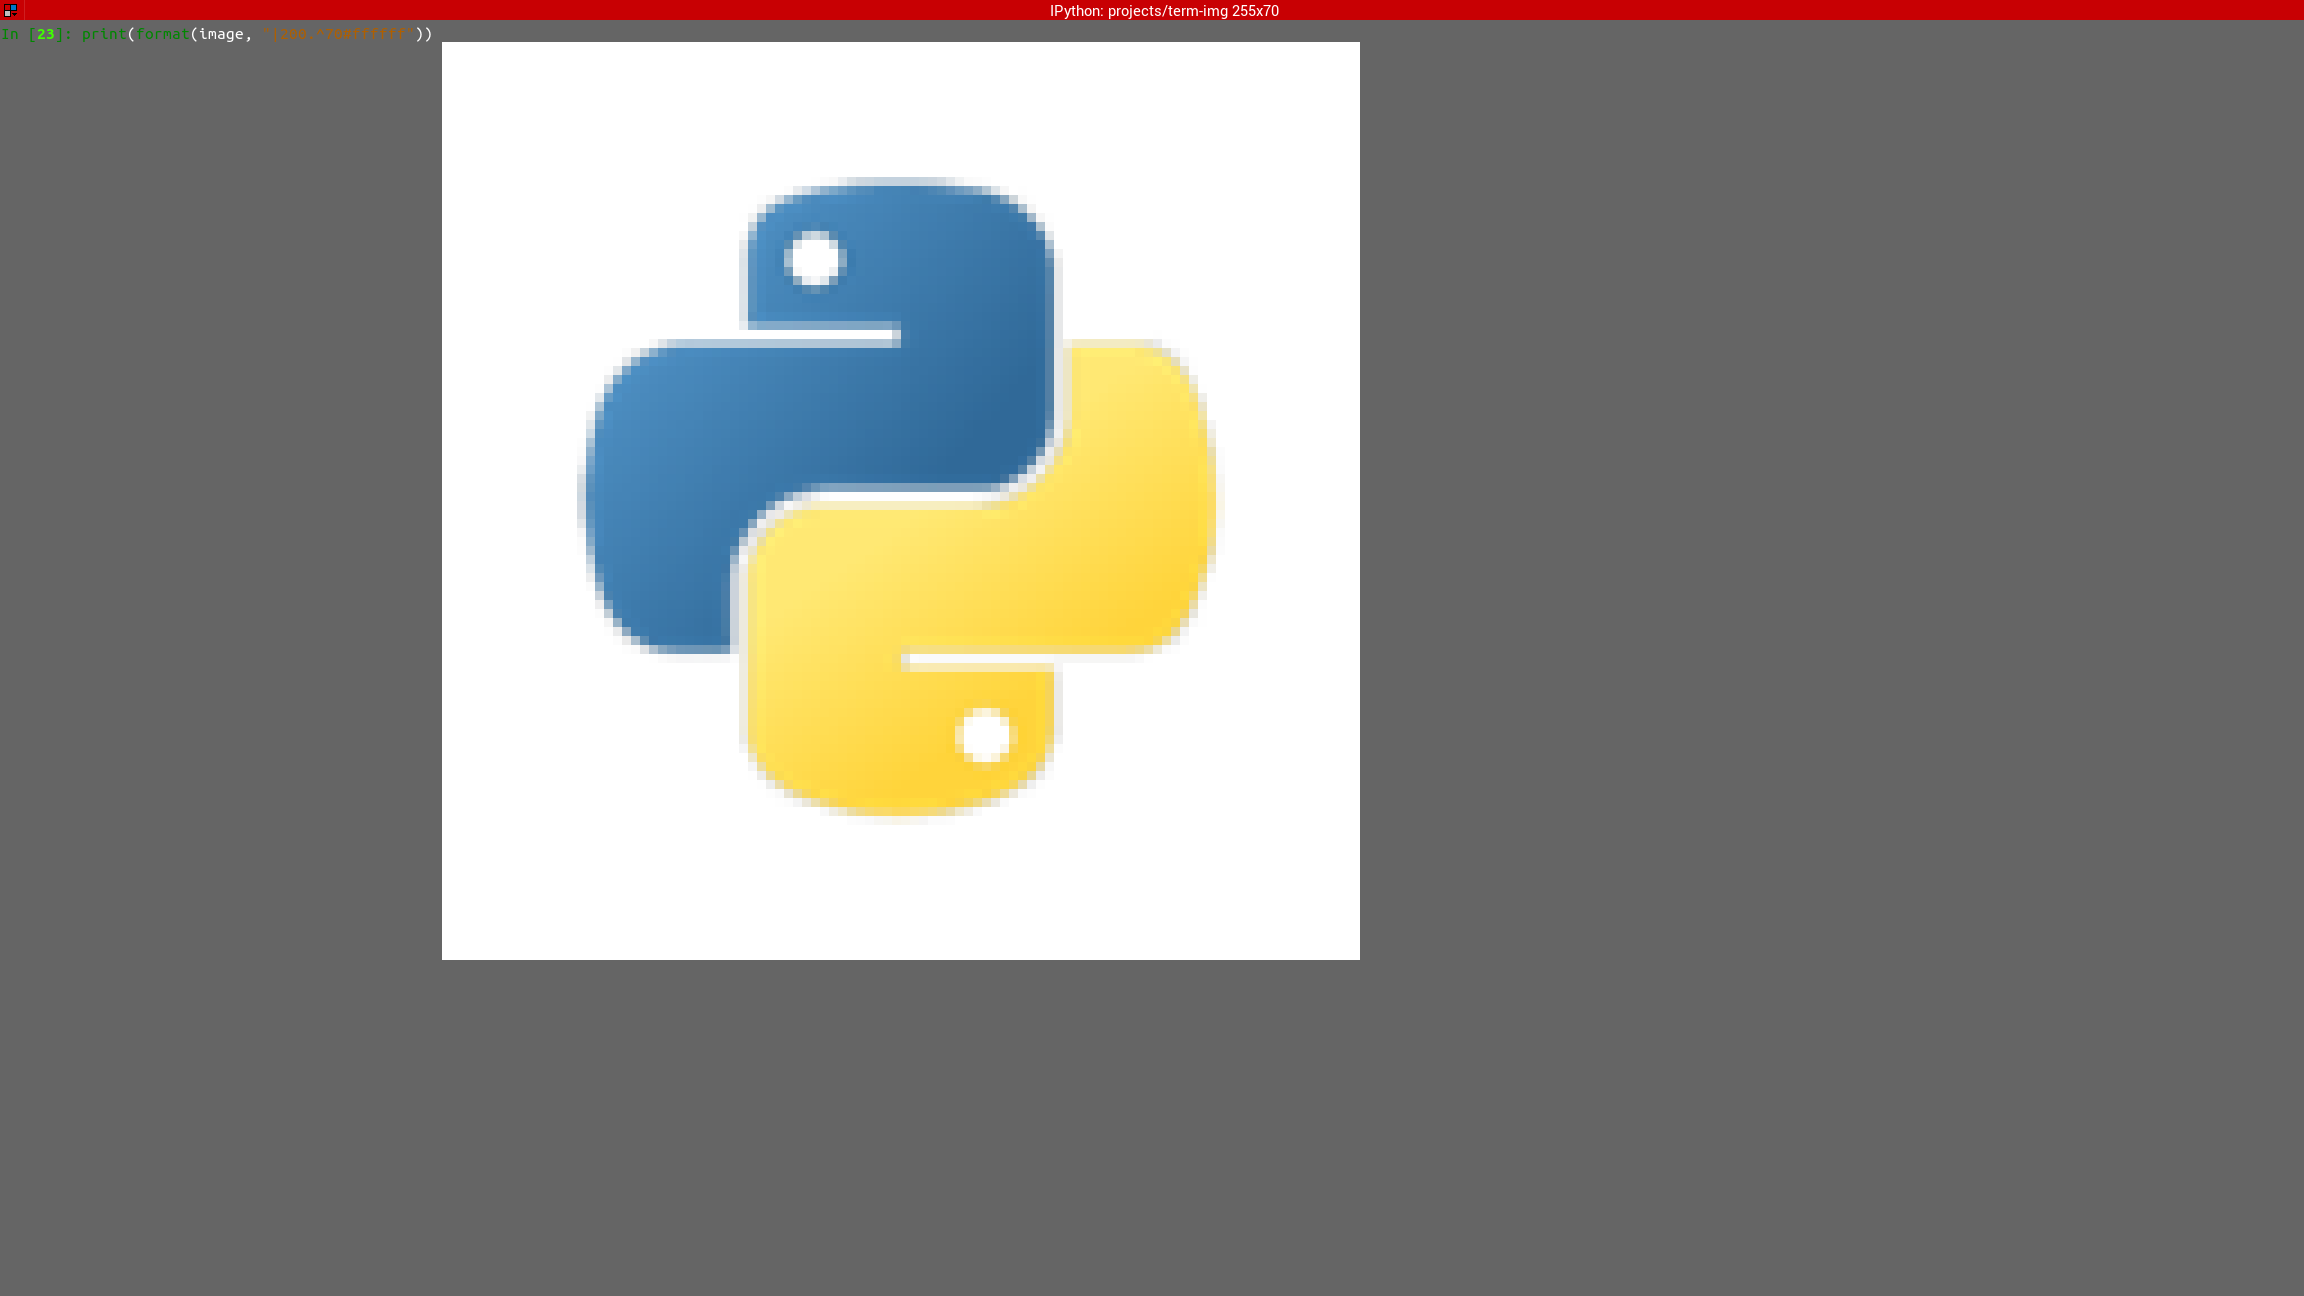
format(image, "|200.^70#ffffff")
Renders the image with:
center horizontal alignment
a padding width of 200 columns
a padding height of 70 lines
transparent background replaced with a white (
#ffffff) background
Note
You might have to reduce the padding width (200) and/or height (70) to something that’ll fit into your terminal window, or increase the size of the terminlal window
The result should look like:
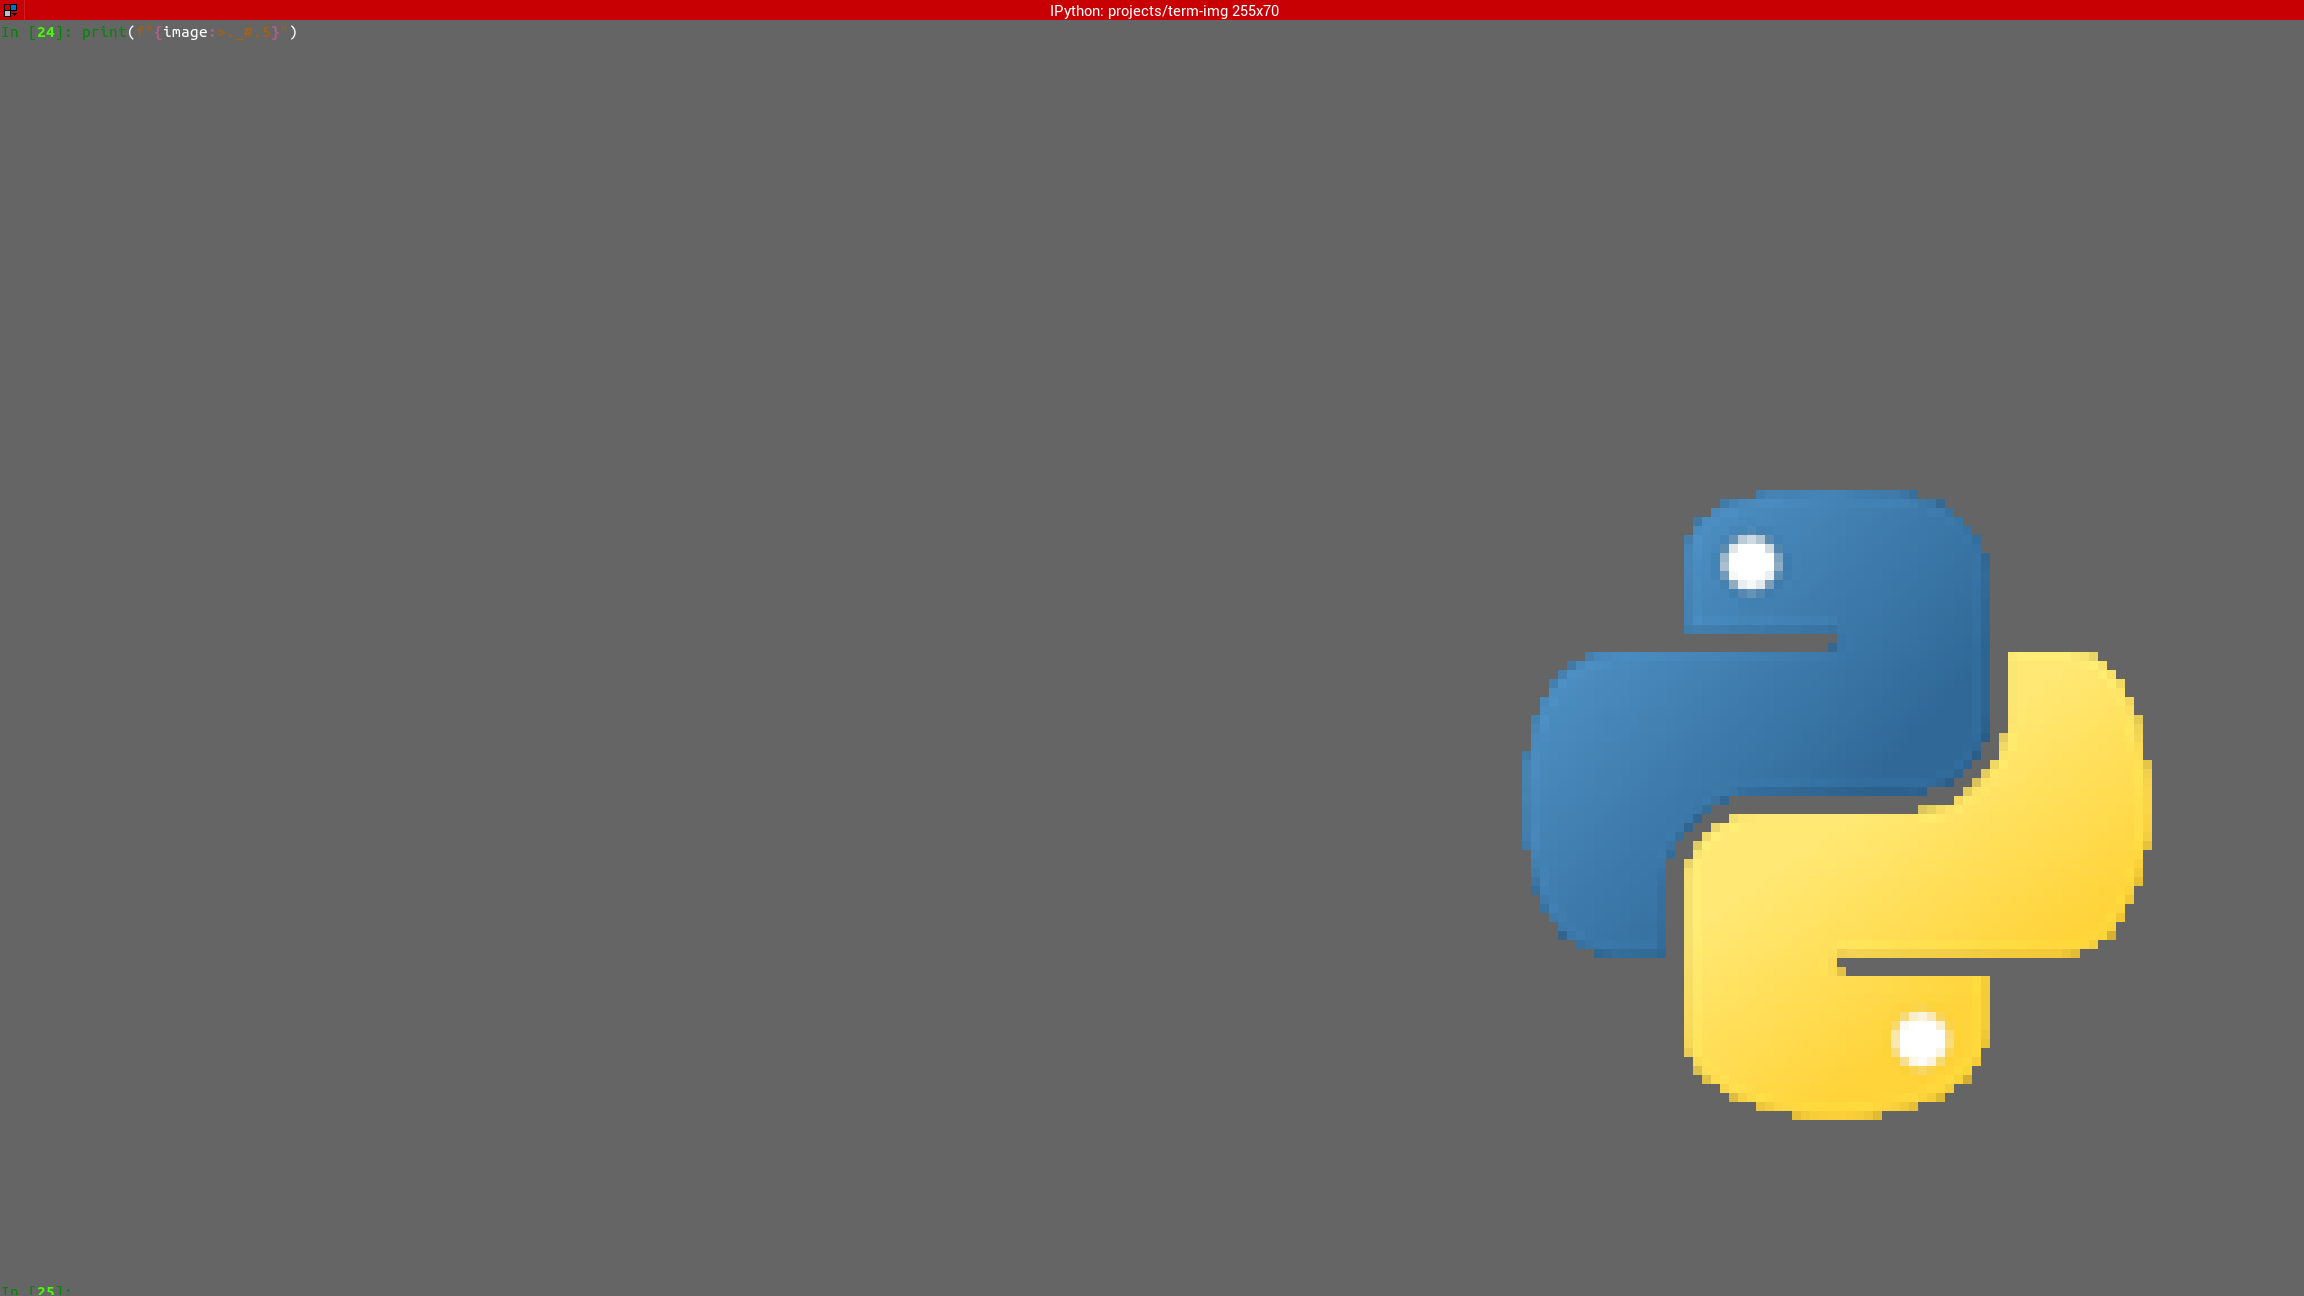
f"{image:>._#.5}"
Renders the image with:
right horizontal alignment
automatic padding width (the current terminal width minus horizontal allowance)
bottom vertical alignment
automatic padding height (the current terminal height minus vertical allowance)
transparent background with 0.5 alpha threshold
The result should look like:
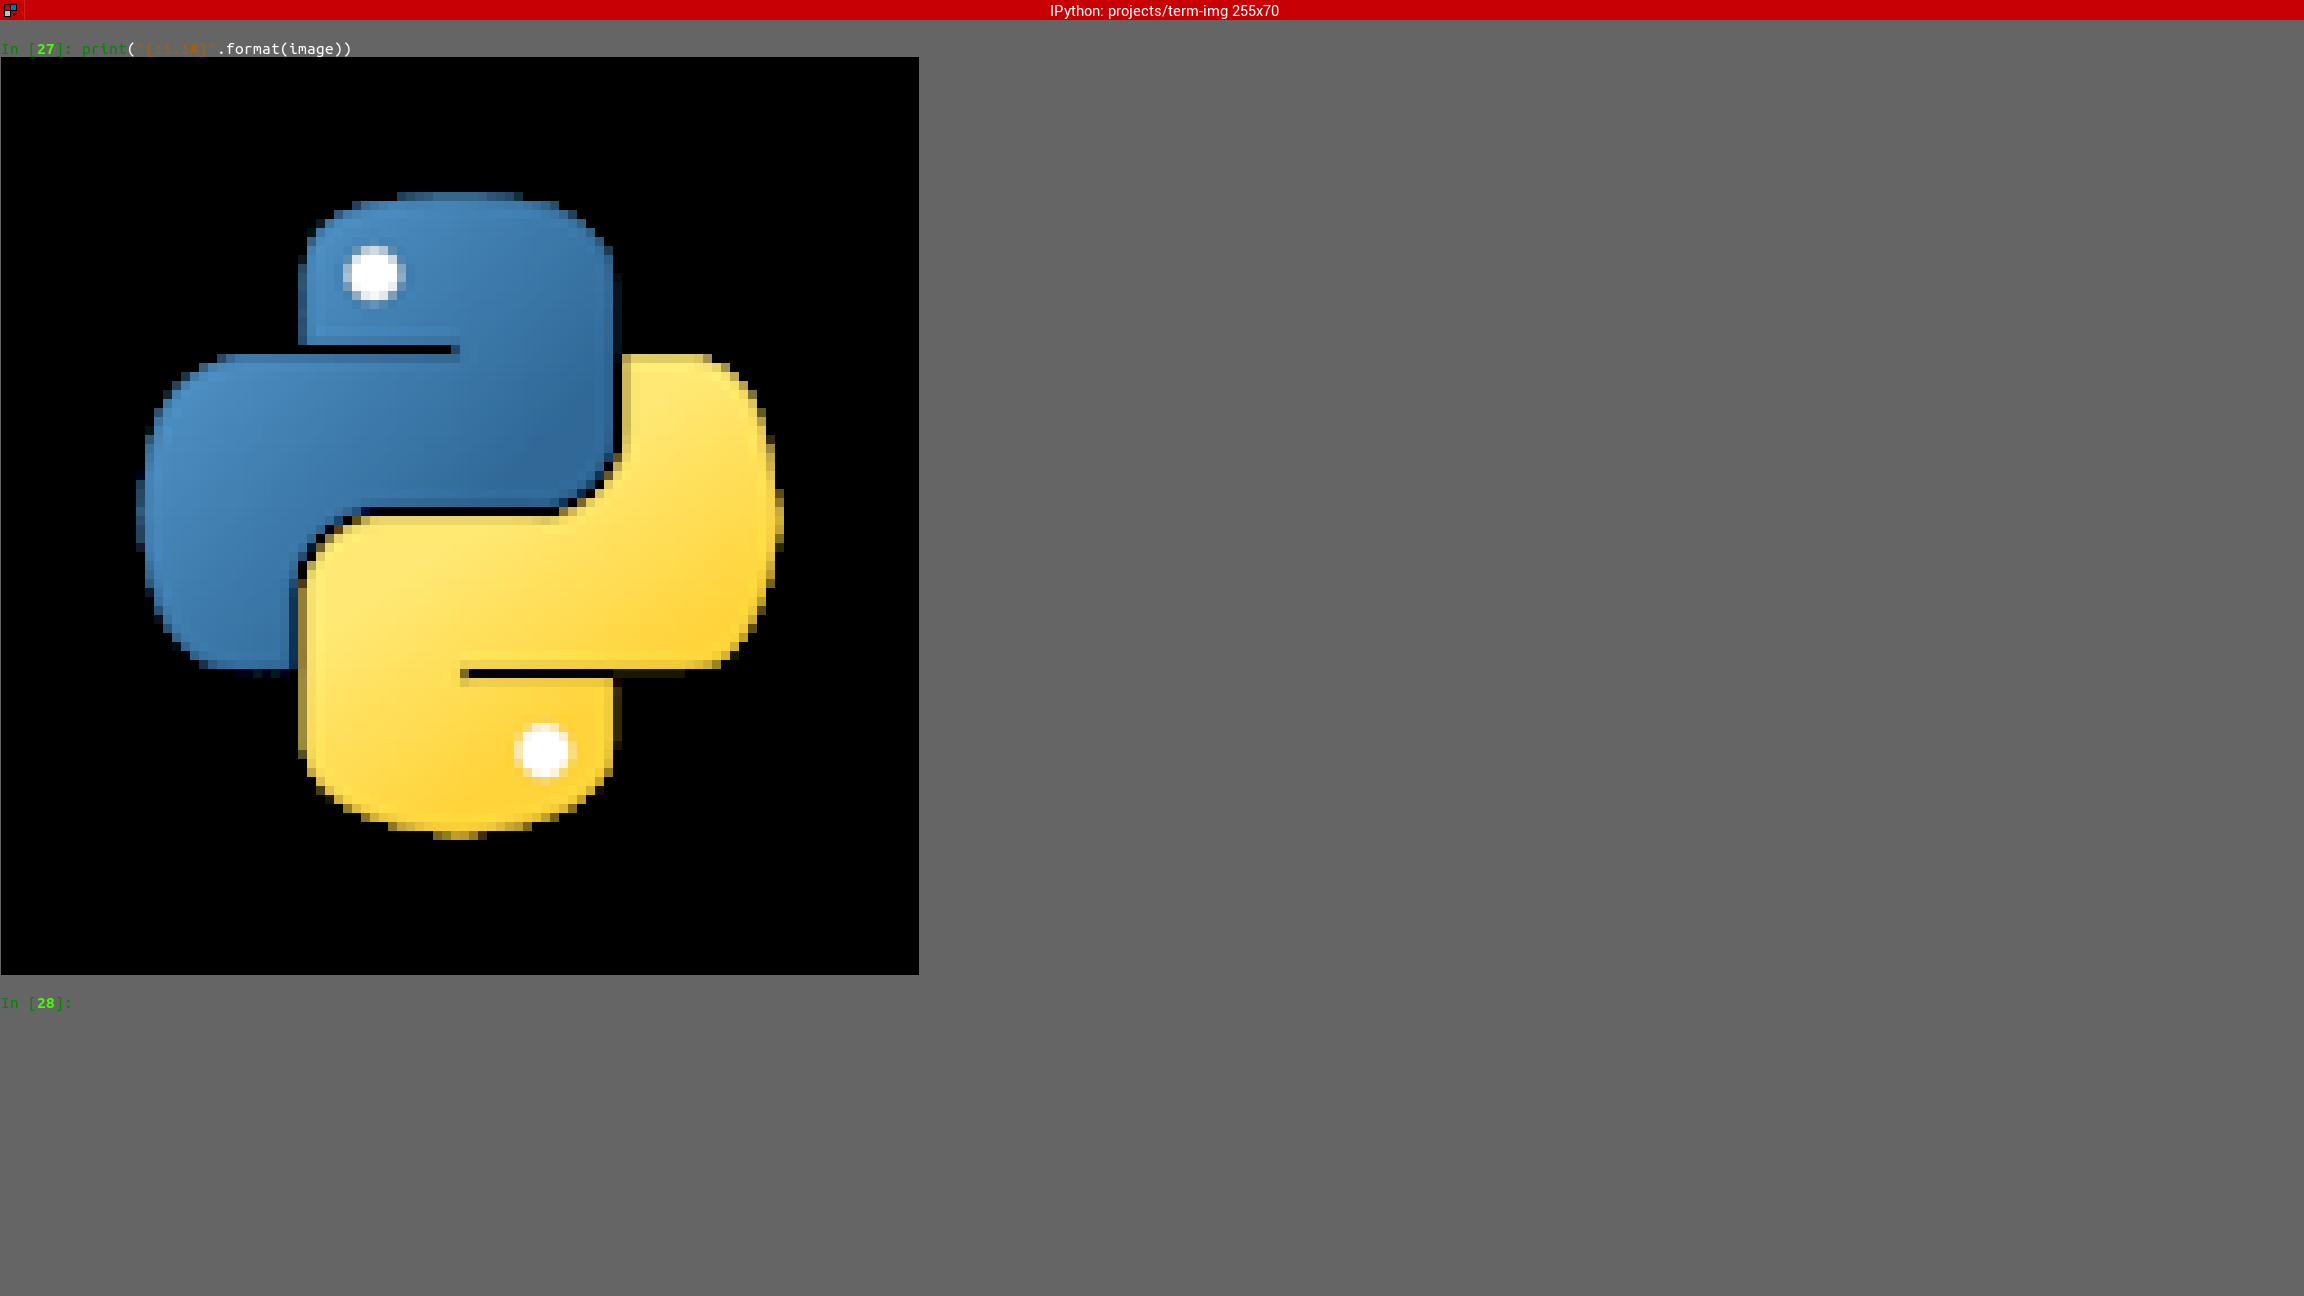
"{:1.1#}".format(image)
Renders the image with:
center horizontal alignment (default)
no horizontal padding, since
1must be less than or equal to the image widthmiddle vertical alignment (default)
no vertical padding, since
1is less than or equal to the image heighttransparency disabled (alpha channel is removed)
The result should look like:
You should also have a look at the complete Image Format Specification.
Drawing/Displaying an image to/in the terminal#
There are two ways to draw an image to the terminal screen:
The
draw()methodimage.draw()
NOTE:
draw()has various parameters for alignment/padding, transparency, animation control, etc.Using
print()with an image render output (i.e printing the rendered string)print(image) # Uses str()
OR
print(f"{image:>200.^70#ffffff}") # Uses format()
Note
Important
All the examples above use automatic sizing and default scale.
Image size#
The size of an image can be in either of two states:
Fixed
In this state, the
sizeproperty is a 2-tuple of integers, thewidthandheightproperties are integers.Dynamic
In this state,
the size with which the image is rendered is automatically calculated (based on the current terminal size or the image’s original size) whenever the image is to be rendered.
the
size,widthandheightproperties evaluate to aSizeenum member.
Size enum member to either the width or the
height keyword-only parameter.Note
The arguments can only be given by keyword.
If neither is given, the
FITdynamic size applies.All methods of instantiation accept these arguments.
For example:
>>> from term_image.image import Size, from_file
>>> image = from_file("python.png")  # Dynamic FIT
>>> image.size is Size.FIT
True
>>> image = from_file("python.png", width=60)  # Fixed
>>> image.size
(60, 30)
>>> image.height
30
>>> image = from_file("python.png", height=56)  # Fixed
>>> image.size
(112, 56)
>>> image.width
112
>>> image = from_file("python.png", height=Size.FIT)  # Fixed FIT
>>> image.size
(136, 68)
>>> image = from_file("python.png", width=Size.FIT_TO_WIDTH)  # Fixed FIT_TO_WIDTH
>>> image.size
(255, 128)
>>> image = from_file("python.png", height=Size.ORIGINAL)  # Fixed ORIGINAL
>>> image.size
(288, 144)
No size validation is performed i.e the resulting size might not fit into the terminal window
>>> image = from_file("python.png", height=68)  # Will fit, OK
>>> image.size
(136, 68)
>>> image = from_file("python.png", height=500)  # Will not fit, also OK
>>> image.size
(1000, 500)
An exception is raised when both width and height are given.
>>> image = from_file("python.png", width=100, height=100)
Traceback (most recent call last):
  .
  .
  .
ValueError: Cannot specify both width and height
The width and height
properties are used to set the size of an image after instantiation.
>>> image = from_file("python.png")
>>> image.width = 56
>>> image.size
(56, 28)
>>> image.height
28
>>> image.height = 68
>>> image.size
(136, 68)
>>> image.width
136
>>> image.width = 200  # Even though the terminal can't contain the resulting height, the size is still set
>>> image.size
(200, 100)
>>> image.width = Size.FIT
>>> image.size
(136, 69)
>>> image.height = Size.FIT_TO_WIDTH
>>> image.size
(255, 128)
>>> image.height = Size.ORIGINAL
>>> image.size
(288, 144)
Note
An exception is raised if the terminal size is too small to calculate a size.
The size property can only be set to a
Size enum member, which results in a dynamic size.
>>> image = from_file("python.png")
>>> image.size = Size.FIT
>>> image.size is image.width is image.height is Size.FIT
True
>>> image.size = Size.FIT_TO_WIDTH
>>> image.size is image.width is image.height is Size.FIT_TO_WIDTH
True
>>> image.size = Size.ORIGINAL
>>> image.size is image.width is image.height is Size.ORIGINAL
True
Important
The currently set cell ratio is also taken into consideration when calculating sizes.
There is a default 2-line vertical allowance, to allow for shell prompts or the likes.
Hint
See set_size() for extended sizing control.
Image scale#
float in the range 0 < x <= 1 i.e greater than zero
and less than or equal to one.The image scale can be retrieved via the properties scale,
scale_x and scale_y.
The scale can be set at instantiation by passing a value to the scale keyword-only paramter.
>>> image = from_file("python.png", scale=(0.75, 0.6))
>>> image.scale
>>> (0.75, 0.6)
The drawn image (using image.draw()) should look like:
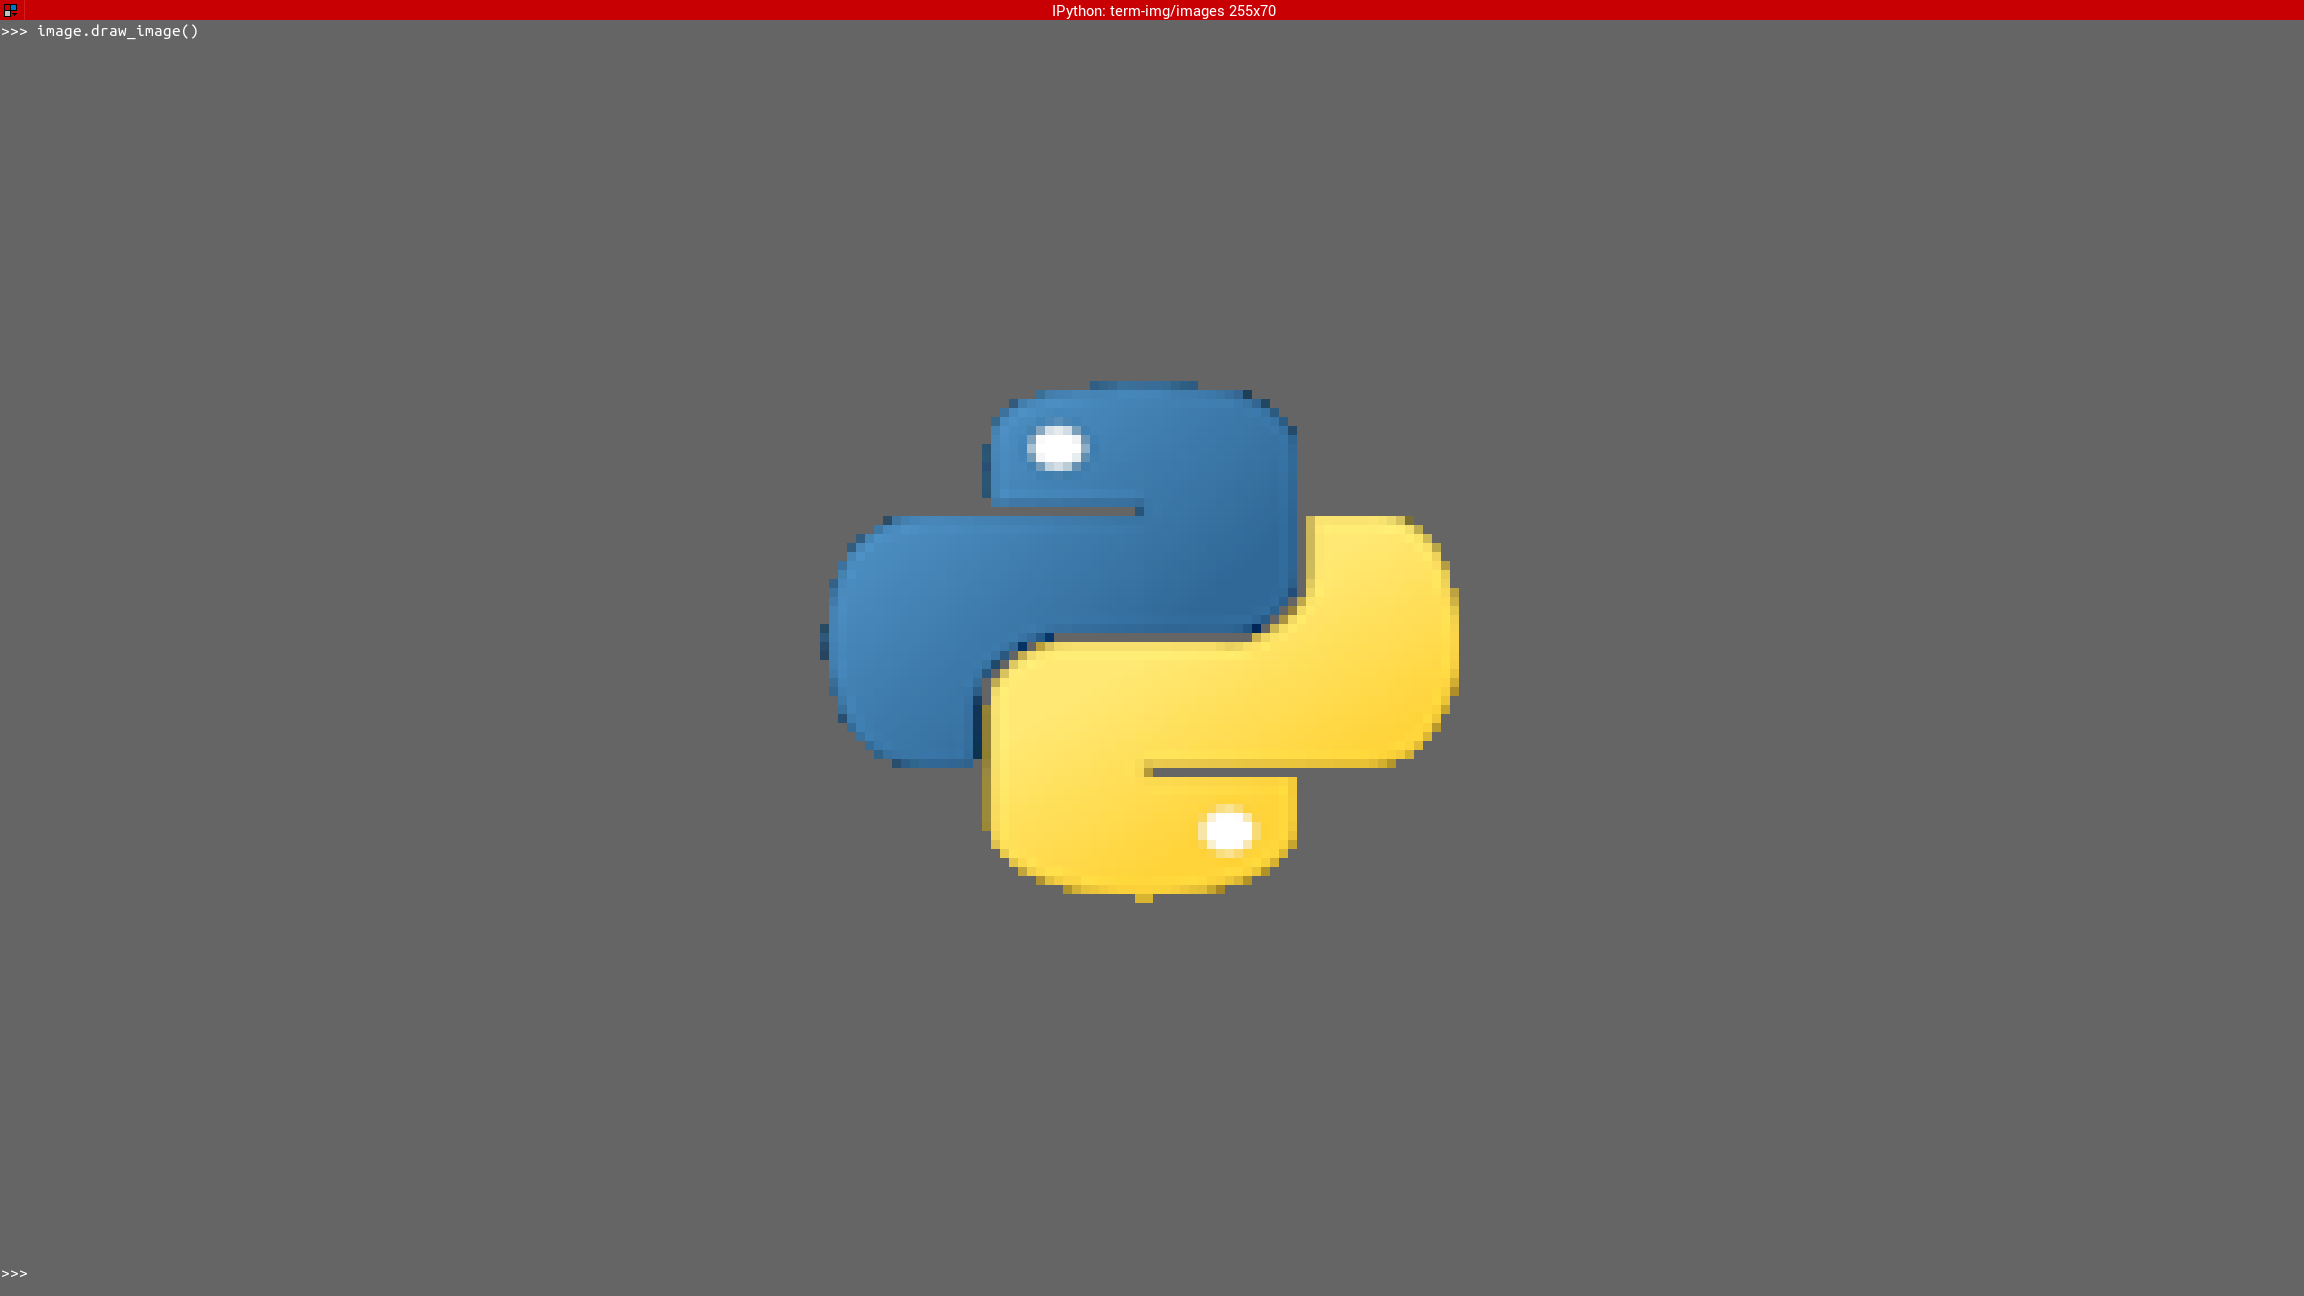
If the scale argument is ommited, the default scale (1.0, 1.0) is used.
>>> image = from_file("python.png")
>>> image.scale
>>> (1.0, 1.0)
The drawn image (using image.draw()) should look like:
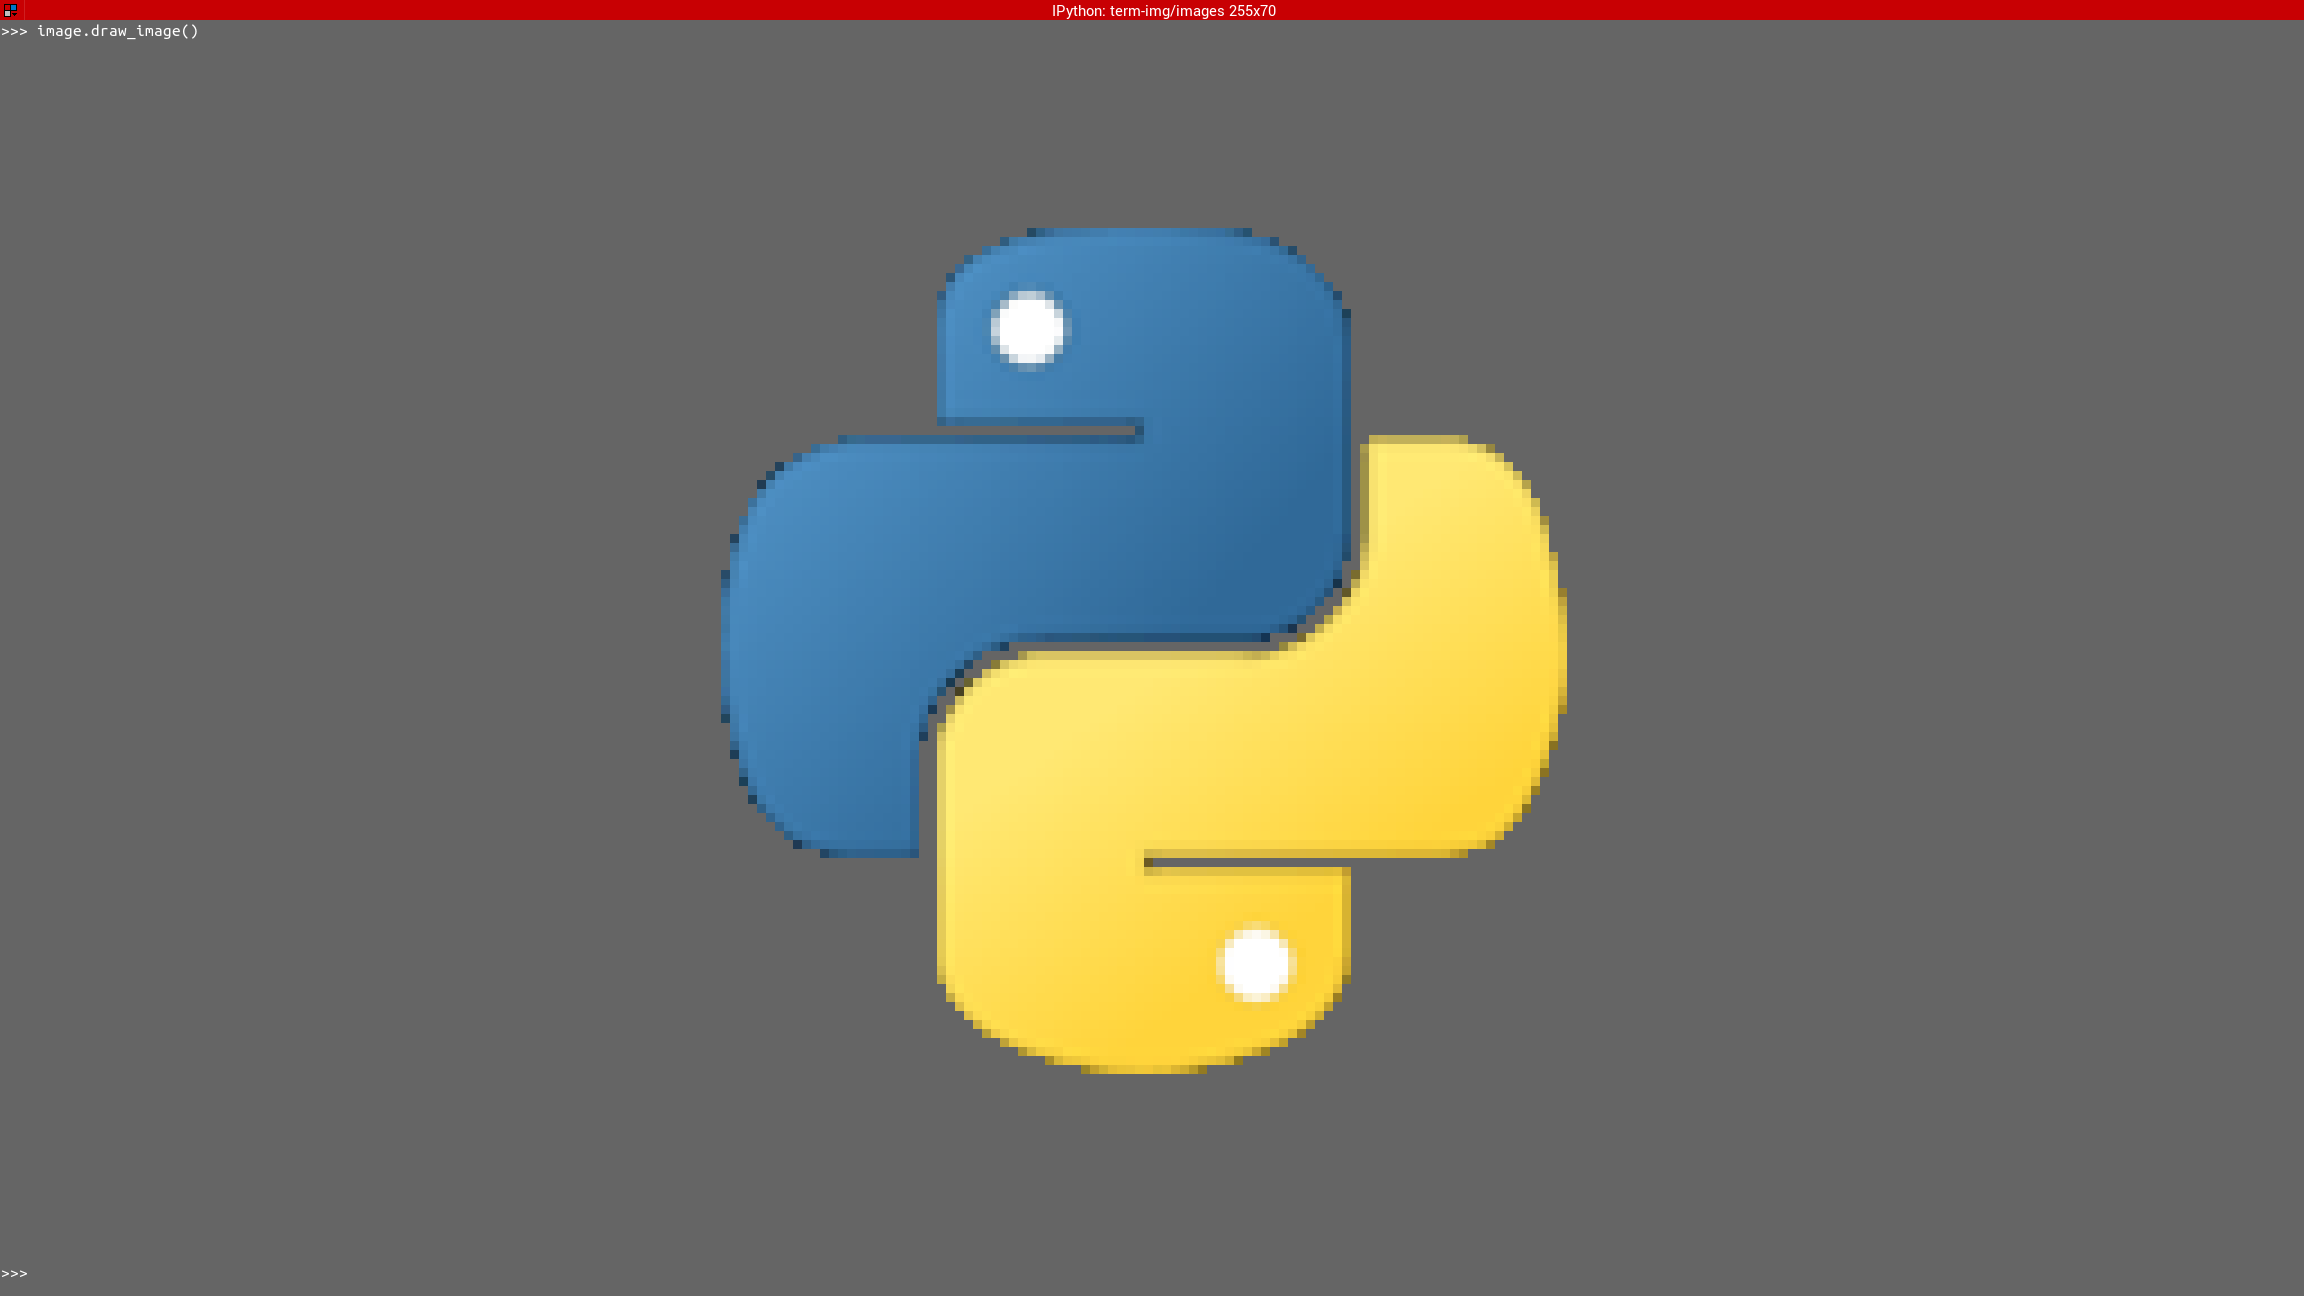
scale accepts a tuple of two scale values or a single scale value.scale_x and scale_y each accept a single scale value.>>> image = from_file("python.png")
>>> image.scale = (.3, .56756)
>>> image.scale
(0.3, 0.56756)
>>> image.scale = .5
>>> image.scale
(0.5, 0.5)
>>> image.scale_x = .75
>>> image.scale
(0.75, 0.5)
>>> image.scale_y = 1.
>>> image.scale
(0.75, 1.0)
Finally, to explore more of the library’s features and functionality, check out the Reference section.